Imagine biting into a juicy, sweet papaya you grew yourself, right on your patio. Sounds like a tropical dream, doesn't it? Well, it's more achievable than you think! With a little know-how, you can successfully grow papaya trees in pots , even if you don't live in a tropical paradise. Let's dive in and discover the secrets to nurturing your own potted papaya tree. Why Grow Papaya Trees in Pots? Growing papaya trees in containers, rather than directly in the ground, offers several advantages. First and foremost, it allows you to control the environment. Papayas thrive in warm temperatures and are sensitive to frost. By growing them in pots, you can easily move them indoors when the weather turns chilly. This is particularly beneficial for those of us living outside of tropical zones. Container growing also simplifies pest control. Keeping your papaya tree in a pot reduces its exposure to soil-borne pests and diseases. And because the tree is...
Have you ever tried capturing the vibrant essence of a papaya tree on paper? The lush green leaves, the intriguing shape of the trunk, and of course, the promise of delicious, sweet fruit hanging from its branches—it's a subject that's both visually appealing and symbolic of tropical abundance. Learning how to create a compelling papaya tree drawing can be a rewarding artistic adventure.
Understanding the Papaya Tree for Your Drawing
Before you even pick up a pencil, it's helpful to truly understand the subject you're about to draw. The papaya tree, also known as Carica papaya, isn’t technically a tree in the traditional sense. It's a large herbaceous plant with a single, unbranched stem reaching heights of 10 to 20 feet. The leaves are large, deeply lobed, and clustered at the top of the stem. This unique structure is crucial to understanding how to approach yourpapaya tree drawing.
Here's a breakdown of key features to consider:
- Trunk: Usually a single stem, often scarred from previous leaf growth. It has a grayish-brown color.
- Leaves: Large, palmate (hand-shaped), and deeply divided. The veins are prominent.
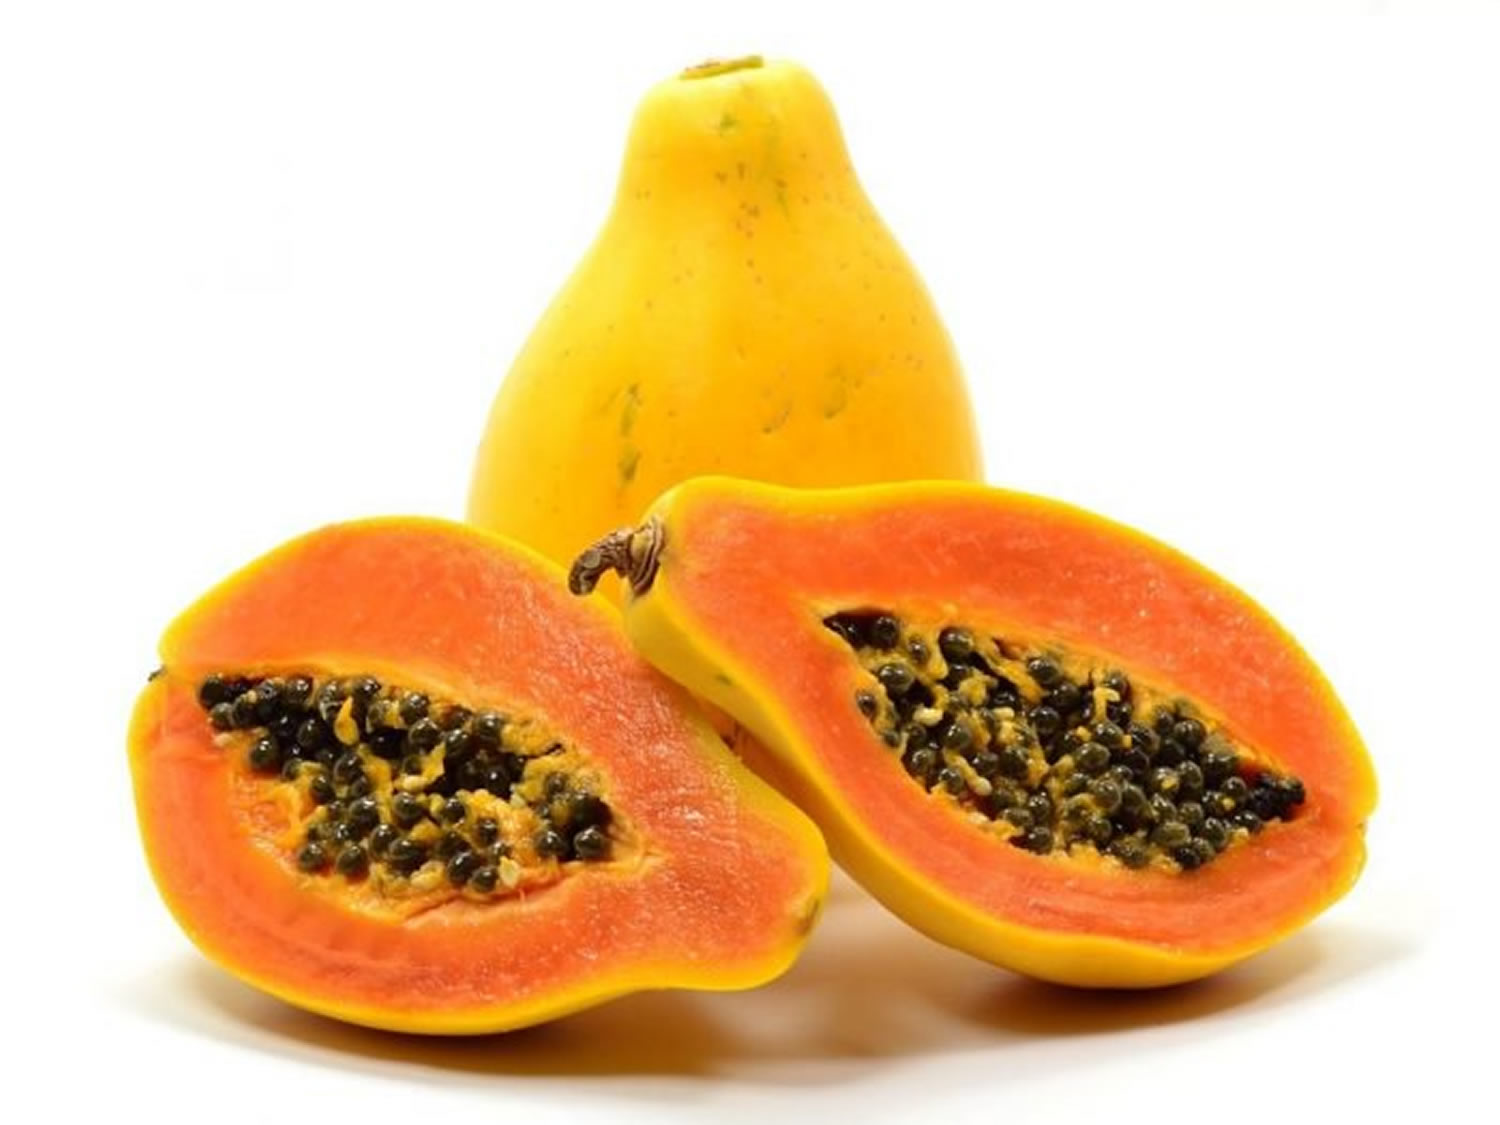
- Fruit: Hangs directly from the trunk below the leaves. They vary in size and shape, from round to elongated. The color changes from green to yellow or orange as they ripen.
Observing Papaya Trees for Artistic Accuracy
Ideally, you should observe a real papaya tree. This allows you to capture the nuances of its form and texture. However, if that's not possible, high-quality photographs can be excellent references. Pay attention to the following:
- Light and Shadow: Notice how light falls on the leaves and fruit, creating highlights and shadows that define their form.
- Leaf Arrangement: Observe the way the leaves are arranged around the top of the trunk. They often overlap, creating interesting patterns.
- Overall Shape: Understand the overall silhouette of the tree. Is it symmetrical or asymmetrical? Is the trunk straight or curved?
Spending time observing your subject will greatly improve the accuracy and realism of your*drawing of a papaya tree.
Steps to Create Your Papaya Tree Ka Drawing
Now, let's get into the actual process of creating yourpapaya tree ka drawing. Here's a step-by-step guide:
Step 1: Sketch the Basic Structure
Begin by sketching the basic outline of the tree. Use light, loose lines. Focus on capturing the overall shape and proportions. Indicate the position of the trunk, the approximate size and arrangement of the leaves, and the location of the fruit. This is a foundational step; don't be afraid to erase and adjust as you go.
Step 2: Add Details to the Trunk
Refine the trunk. Add texture by drawing small lines and dots to represent the bark. Don't make it perfectly smooth; papaya trunks are often scarred and uneven. Consider adding a slight curve to the trunk for added realism. Remember, even slight imperfections will make yourpapaya tree drawing more believable.
Step 3: Draw the Leaves
This is where the drawing can become more complex. Start by drawing the basic shape of each leaf. Remember they are palmate, like the shape of an open hand. Then, add the deep lobes and the prominent veins. Pay attention to how the leaves overlap each other. Consider using different shades to represent different levels of shading on each of the leaves.
Here are some tips for drawing the leaves:
- Vary the size and shape of the leaves.*This will make your drawing more natural.
- Use different line weights to create depth.*Thicker lines can be used for the edges of the leaves, while thinner lines can be used for the veins.
- Don't draw every single detail.Focus on capturing the overall impression of the leaves.
Step 4:Add the Fruit
Draw the papayas hanging from the trunk. They can be round, oval, or elongated. Vary their sizes and shapes to make them look more natural. Add a small stem where each fruit is attached to the trunk. Consider depicting some fruit as green and unripe, and others as yellow or orange and ripe. This adds visual interest and realism to yourpapaya tree ka drawing.
Step 5:Add Shading and Texture
Use shading to create depth and dimension. Identify the light source and add shadows to the opposite side of the tree. Use cross-hatching, stippling, or blending techniques to create different textures. Remember, subtle variations in shading can make a big difference in the overall realism of your drawing. Try using a blending stump to smooth out the shading and create a more realistic effect.
Step 6: Final Touches and Refinements
Review your drawing carefully. Make any necessary adjustments to the lines, shading, and texture. Erase any stray lines or smudges. Step back and look at your drawing from a distance to get a fresh perspective. Adding details such as the surrounding environment will greatly improve your drawing.
Materials for Creating a Beautiful Papaya Tree Ka Drawing
The materials you use will influence the final look of yourpapaya tree ka drawing. Here are some suggestions:
- Pencils: A range of graphite pencils (e.g., 2H, HB, 2B, 4B) will allow you to create different tones and textures.
- Paper: Smooth drawing paper is ideal for detailed drawings. Textured paper can add a more rustic feel.
- Eraser: A kneaded eraser is useful for lifting graphite without damaging the paper.
- Blending Stump: For smoother shading and blending.
- Reference Images: High-quality photographs of papaya trees for reference.
Experiment with different materials to find what works best for you. Don't be afraid to try colored pencils, charcoal, or even watercolor to add a unique touch to your drawing.
Enhance Your Garden with the Right Tools
Speaking of creating beauty, while you're inspired to draw a papaya tree, consider enhancing your own garden! If you're a gardening enthusiast, you know how important it is to have the right tools to make the experience more comfortable. TheKVR Upgraded Garden Kneeler and Seat with Thicken & Widen Soft Kneeling Pad, a heavy-duty foldable gardener stool with 2 tool pouches, could be the perfect addition to your gardening arsenal. This thoughtful garden gift for women, men, and especially moms can be found here:https://amzn.to/4mhl Mx I.
Papaya Tree Drawing: Exploring Different Styles
Once you've mastered the basic techniques, you can experiment with different styles of drawing. Here are a few ideas:
- Realistic: Focus on capturing the details and textures of the tree as accurately as possible.
- Stylized: Simplify the shapes and lines to create a more abstract or graphic look.
- Cartoon: Exaggerate the features of the tree for a whimsical or humorous effect.
- Botanical Illustration: Create a detailed and scientifically accurate drawing of the tree.
No matter what style you choose, the key is to have fun and express your creativity. Adrawing of a papaya tree can be a blank canvas for your artistic interpretation.
Conclusion
Creating apapaya tree drawing is a rewarding experience that can help you develop your artistic skills and appreciate the beauty of nature. By understanding the structure of the tree, observing its details, and following these simple steps, you can create a beautiful and realistic drawing that captures the essence of this tropical plant. Remember to practice regularly and experiment with different styles to find your own unique artistic voice.