Imagine biting into a juicy, sweet papaya you grew yourself, right on your patio. Sounds like a tropical dream, doesn't it? Well, it's more achievable than you think! With a little know-how, you can successfully grow papaya trees in pots , even if you don't live in a tropical paradise. Let's dive in and discover the secrets to nurturing your own potted papaya tree. Why Grow Papaya Trees in Pots? Growing papaya trees in containers, rather than directly in the ground, offers several advantages. First and foremost, it allows you to control the environment. Papayas thrive in warm temperatures and are sensitive to frost. By growing them in pots, you can easily move them indoors when the weather turns chilly. This is particularly beneficial for those of us living outside of tropical zones. Container growing also simplifies pest control. Keeping your papaya tree in a pot reduces its exposure to soil-borne pests and diseases. And because the tree is...
Imagine biting into a juicy, sweet papaya you grew yourself, right on your patio. Sounds like a tropical dream, doesn't it? Well, it's more achievable than you think! With a little know-how, you can successfully grow papaya trees in pots, even if you don't live in a tropical paradise. Let's dive in and discover the secrets to nurturing your own potted papaya tree.
Why Grow Papaya Trees in Pots?
Growing papaya trees in containers, rather than directly in the ground, offers several advantages. First and foremost, it allows you to control the environment. Papayas thrive in warm temperatures and are sensitive to frost. By growing them in pots, you can easily move them indoors when the weather turns chilly. This is particularly beneficial for those of us living outside of tropical zones.
Container growing also simplifies pest control. Keeping your papaya tree in a pot reduces its exposure to soil-borne pests and diseases. And because the tree is contained, you can easily inspect it for any signs of trouble and take action before problems escalate. Furthermore, you have complete control over the soil composition and drainage, ensuring your papaya tree receives the ideal growing medium. This is especially crucial because papayas are susceptible to root rot in overly wet soil. Finally, the fact that you can move them around is a great bonus. You can bring them indoors for the winter or move them to a sunnier spot as needed.
Choosing the Right Papaya Variety for Container Growing
Not all papaya varieties are created equal, especially when it comes to growing them in pots. Dwarf or semi-dwarf varieties are the best choice for container gardening. These types naturally stay smaller, making them more manageable in a limited space. Here are a few popular options:
- 'Dwarf Solo': A self-pollinating variety known for its small size and sweet, flavorful fruits. This is an excellent choice for beginners.
- 'Tainung No. 1': Another dwarf variety that produces good-sized fruits. It’s relatively disease-resistant, making it a reliable option.
- 'Red Lady': A popular hybrid papaya that is relatively compact and produces delicious, red-fleshed fruits. It's also known for its good disease resistance.
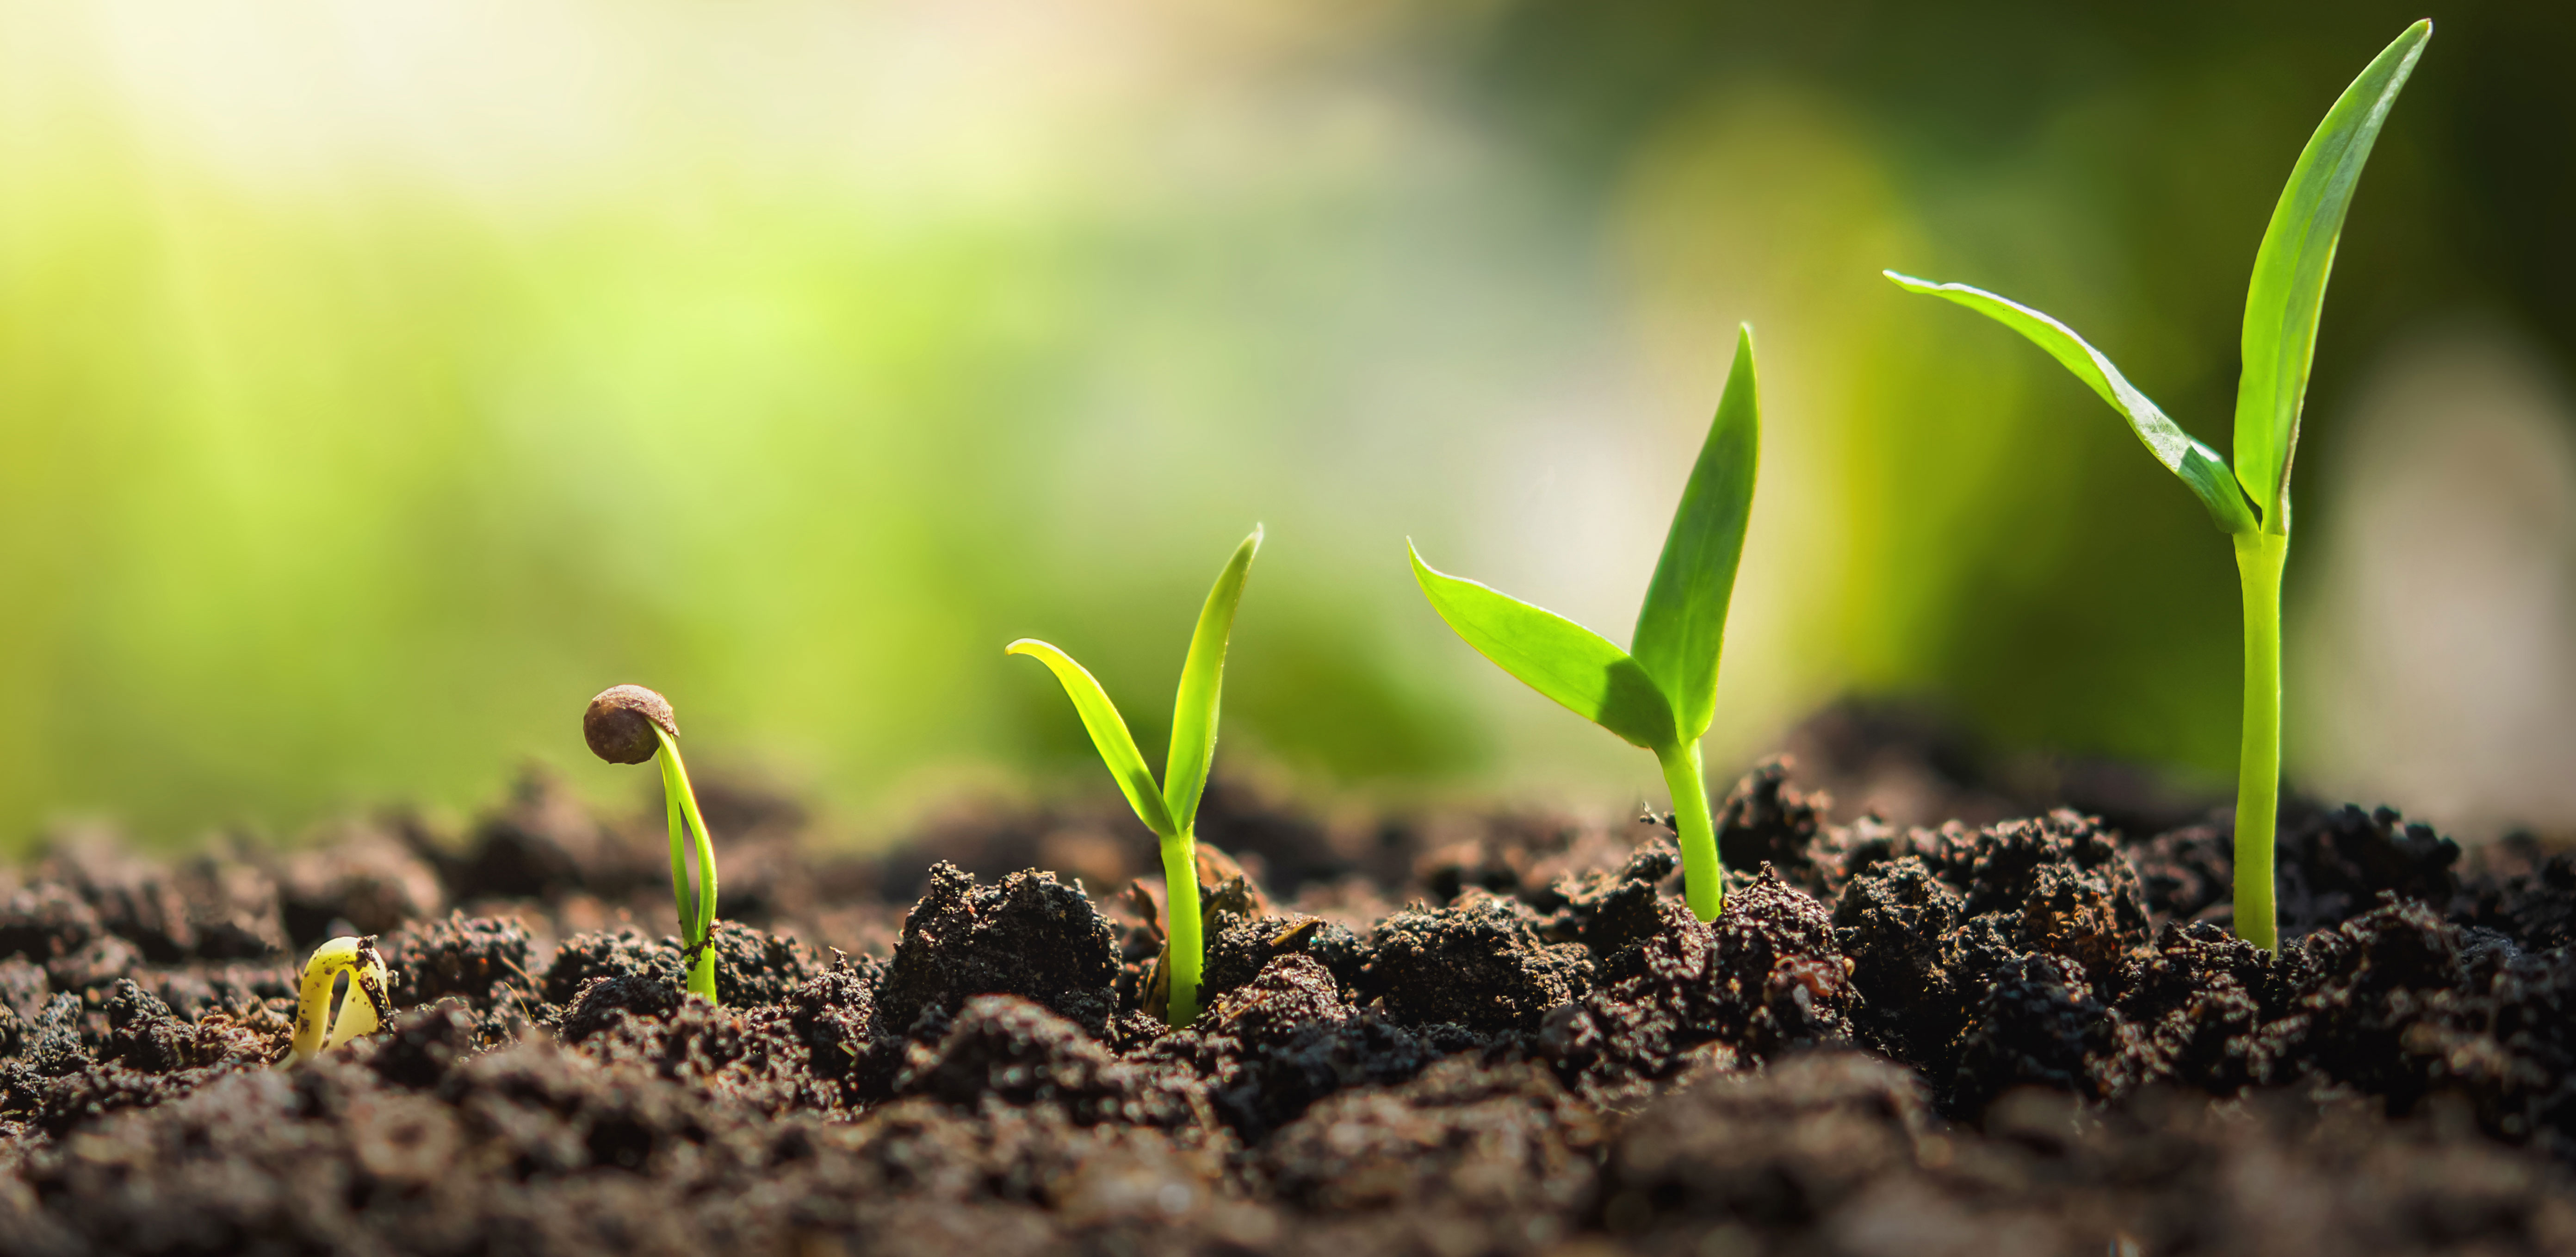
When selecting your papaya seedling, choose one that appears healthy and vigorous. Look for a plant with strong stems, vibrant green leaves, and no signs of pests or diseases. Avoid plants that appear root-bound, as they may have difficulty adapting to their new container.
The Perfect Potting Mix and Container for Papaya Trees
The right potting mix and container are essential for the success of your potted papaya tree. Papayas need well-draining soil to prevent root rot. A mixture of equal parts potting soil, compost, and perlite or vermiculite provides excellent drainage and aeration. Avoid using garden soil, as it can become compacted and inhibit root growth.
For the container, choose a large pot that is at least 20-24 inches in diameter and depth. This will give the papaya tree's roots ample room to grow. Make sure the pot has drainage holes to allow excess water to escape. Terra cotta pots are a good choice because they are porous and allow the soil to breathe. However, plastic pots are lighter and retain moisture better, which can be an advantage in hot, dry climates. Whichever type you choose, ensure it's sturdy enough to support the mature tree, which can become quite heavy when laden with fruit. It is best to avoid black plastic pots because the black color can absorb heat, which can be damaging to the roots.
Planting Your Papaya Tree
Now for the fun part: planting your papaya tree! Follow these simple steps for a successful transplant:
- Prepare the pot: Fill the bottom of the pot with a layer of gravel or pebbles to improve drainage.
- Add potting mix: Fill the pot about one-third full with your prepared potting mix.
- Remove the seedling: Gently remove the papaya seedling from its nursery pot, being careful not to damage the roots.
- Position the plant: Place the seedling in the center of the pot, ensuring that the top of the root ball is level with the surrounding soil.
- Fill with soil: Fill the remaining space in the pot with potting mix, gently tamping it down around the base of the plant.
- Water thoroughly: Water the newly planted papaya tree thoroughly until water drains out of the bottom of the pot.
After planting, place the pot in a sunny location that receives at least 6-8 hours of direct sunlight per day. Papayas are sun-loving plants and need plenty of light to thrive.
Caring for Your Potted Papaya Tree: Light, Water, and Fertilizer
Proper care is essential for the health and productivity of your potted papaya tree. Here's what you need to know about light, water, and fertilizer:
Light
As mentioned earlier, papayas need plenty of sunlight. Place your potted papaya tree in the sunniest spot you can find. If you live in an area with limited sunlight, consider using a grow light to supplement the natural light. Rotate the pot regularly to ensure that all sides of the tree receive equal light exposure.
Watering
Water your papaya tree regularly, especially during hot, dry weather. The soil should be kept consistently moist but not waterlogged. Check the soil moisture by sticking your finger into the soil. If the top inch feels dry, it's time to water. Avoid overwatering, as this can lead to root rot. During the winter months, reduce watering frequency, as the tree will need less water when it's not actively growing.
Fertilizing
Papayas are heavy feeders and need regular fertilization to produce abundant fruit. Use a balanced fertilizer with a ratio of 14-14-14 or similar. Fertilize every 2-3 months during the growing season (spring and summer). Follow the instructions on the fertilizer package for application rates. You can also supplement with organic fertilizers like compost tea or fish emulsion.
Here's a fertilization schedule to follow:
| Season | Fertilizer | Frequency |
|---|---|---|
| Spring/Summer | Balanced fertilizer (14-14-14) | Every 2-3 months |
| Fall | Lower nitrogen fertilizer (e.g., 5-10-10) | Once |
| Winter | None | N/A |
Remember to always water your papaya tree thoroughly after fertilizing to help distribute the nutrients and prevent fertilizer burn.
Pollination and Fruit Production of your Papaya Plant
Papaya trees can be either male, female, or hermaphrodite (having both male and female reproductive organs). Female trees require a male tree nearby for pollination, while hermaphrodite trees are self-pollinating. Most commercially available papaya varieties are hermaphrodite.
If you're unsure of the sex of your papaya tree, observe the flowers. Male flowers are long and slender, while female flowers are round and close to the stem. Hermaphrodite flowers have characteristics of both male and female flowers.
To encourage fruit production, ensure your papaya tree receives adequate sunlight, water, and fertilizer. You can also hand-pollinate the flowers to increase the chances of fruit set. To hand-pollinate, use a small paintbrush to transfer pollen from the male flowers to the female flowers. This is best done in the morning when the flowers are open.
Fruit typically ripens in 6-9 months after pollination. The fruit is ripe when it turns from green to yellow or orange and yields slightly to the touch. Harvest the fruit carefully to avoid bruising.
Dealing with Pests and Diseases
While growing papaya trees in pots reduces the risk of pests and diseases, it's still important to be vigilant. Here are some common pests and diseases that can affect papaya trees:
- Spider mites: These tiny pests suck sap from the leaves, causing them to turn yellow and stippled. Control spider mites by spraying the leaves with a strong stream of water or using insecticidal soap.
- Aphids: These small, sap-sucking insects can cause distorted growth. Control aphids by spraying them with insecticidal soap or neem oil.
- Root rot: This fungal disease is caused by overwatering and poor drainage. Prevent root rot by using well-draining soil and avoiding overwatering. If root rot does occur, repot the tree in fresh soil and improve drainage.
- Powdery mildew: This fungal disease appears as a white, powdery coating on the leaves. Control powdery mildew by improving air circulation and spraying the leaves with a fungicide.
Regularly inspect your papaya tree for any signs of pests or diseases. Early detection and treatment can prevent serious problems. Consider using organic pest control methods to minimize the use of harmful chemicals. Regular application of neem oil can act as a great preventative measure.
Overwintering Your Potted Papaya Tree
If you live in an area with cold winters, you'll need to bring your potted papaya tree indoors before the first frost. Before bringing it inside, inspect the tree for pests and diseases and treat them if necessary. Place the tree in a bright, sunny location, such as near a south-facing window. Reduce watering frequency and avoid fertilizing during the winter months. The tree may drop some leaves during this time, but it should recover in the spring. Once the weather warms up and the risk of frost has passed, gradually acclimate the tree to outdoor conditions before moving it back outside permanently.
Speaking of garden care, having the right tools can make all the difference. I recently found that the KVR Upgraded Garden Kneeler and Seat, featuring a thick kneeling pad and convenient tool pouches, has been a lifesaver for tending to my plants. You can check out this useful foldable gardener stool here: https://amzn.to/4mhl Mx I.
Troubleshooting Common Issues
Yellowing Leaves
Possible Cause: Overwatering, underwatering, nutrient deficiency, pest infestation.
Solution: Check soil moisture, adjust watering schedule. Fertilize with a balanced fertilizer. Inspect for pests.
Leaf Drop
Possible Cause: Cold temperatures, sudden changes in environment, underwatering.
Solution: Maintain consistent temperatures. Gradually acclimate to new environments. Check soil moisture.
Lack of Fruit
Possible Cause: Insufficient sunlight, lack of pollination, nutrient deficiency.
Solution: Ensure 6-8 hours of direct sunlight. Hand-pollinate flowers. Fertilize regularly.
Stunted Growth
Possible Cause: Root-bound, poor soil, nutrient deficiency.
Solution: Repot into a larger container with fresh potting mix. Fertilize with a balanced fertilizer.